Wednesday 3 January 2018

Junk Journal

I have just finished my first project for 2018.  A junk journal using First Editions Wanderlust paper pad.  I have lots of off cuts from other projects and need to get them used up, so there will be many more to come.


The base of the book was a cereal box covered with black card.  Size is approx. 6.5"x 6.5" with a spine of 3".


To keep the book close I used tiny clips with a chain and charms to link them together and added bows from crinkled seam binding.


The back I left plain.


I covered the spine with a couple of layers of wide lace to cover where I stitched in the signatures.  Dcorated with one of my handmade embellishments.


Through out the book I have added decorated with handmade paperclip embellishments.


I also die cut lots of individual journal cards to add extra options for extra journaling or photo mats.


This became quite a chunky journal with seven signatures.


With some of the scraps I made pockets using cut down mini envelopes.


For products used in this project pop over to my Facebook group Jo's Crafty Pad.


Happy Crafting Everyone

Jo xxx


Tuesday 17 October 2017

Desk Calendar Tutorial


For this project you will need a piece of card measuring 3 1/2" x 10 1/4"

Using your score board and on the long side, score at
3/4", 1 1/2", 2 1/4" and 6 1/4"

Next you need to fold and crease along these lines with a bone folder. Your first line, the 3/4" line is a mountain fold, the next a valley fold, then a mountain fold and the 6 1/4" line is another mountain fold.

To finish you need to glue or use extra strong sticky tape along the bottom flap, fold over and glue together to make your base.


You are now ready to stick your calendar pad to the front and decorate as you wish.  There are lots of ways you can do this.


I hope you have lots of fun making these quick and easy gifts.

xxx Jo


Tuesday 10 October 2017

Gift Card Wallet


 It is that time of year again.  The gift giving season.  Why not try these quick and easy Gift Card Holders with all your gorgeous papers in your stash.  I put my hands up this is not my idea.   Unfortunately I can't remember exactly where I saw it first but it is all over Pinterest and YouTube.  This is my version.


 To make this you will need a piece of card measuring 4" x 10".


 Using your scoreboard with the card on the long side score at 2", 5", 6", and 7". 


The 6" score line will be your mountain fold which you will cut the piece to put your card in. Make sure you leave at least 1/2" up from the 5" score line and the width is approx. 3 1/2".  Cut this piece out through both layers of card.

Turn over your piece of card and run a piece of strong sticky tape just above the 5" score line.  Fold over and stick down and this creates the pop up slot to put your gift card.

Your base is ready to decorate with all your lovely papers.  To keep the wallet closed I used a Velcro dot, or you could make a belly band and decorate.


For me I know a lot of coffee drinkers, so these are great for coffee shop gift cards.

There are lots of ideas for these wallets.  I hope you have a go and have as much fun making them as I have.  xx  Jo


Monday 31 July 2017

Water Colouring Weekend

Finally this weekend I managed to try something that has been on my list for ages.  Everyone has been putting up videos and talking about water colouring with Crayola markers and I desperately wanted to have a go, but never found the time. Until now!!

I was amazed how easy they were to use, just using an acrylic block, rubbing some of the pigments onto it and picking up with a wet brush, the pack even had a perfect skin tone and how we search for the right combination in paint, alcohol inks or any medium?  It's so difficult to get it right, but no hassle with this.  I am converted.  I didn't have to struggle with mixing and blending, I just slapped it on and had great fun.

Here are a couple of cards I managed to finish.

Using the techniques I learnt from using alcohol markers for the hair, I just laid a light wash of base colour first, then with a little less water, picked up the same colour to show darker strands of hair.  For the rest of the image, which is quite small I didn't bother with shading and it seemed to work well.

Thought I would try black hair as I always struggle with this, In my pack of markers I had a grey and a black so I put down the grey first and then the black strands on top.  It passes I suppose, but still needs a bit of practise on this one.

This little girl I painted first and I was so pleased with her that it spurred me on to do the others.  I thoroughly enjoyed myself.  Why don't you give it a try, it beats paying out for all those expensive paints and markers that we are all tempted to collect

Have fun
Jo xxx

For the stamps and papers used in these cards, pop over to Jo Price Designs where you will find these and lots more crafty products available at reasonable prices.


Friday 30 June 2017

Photo Folio Flip Instructions


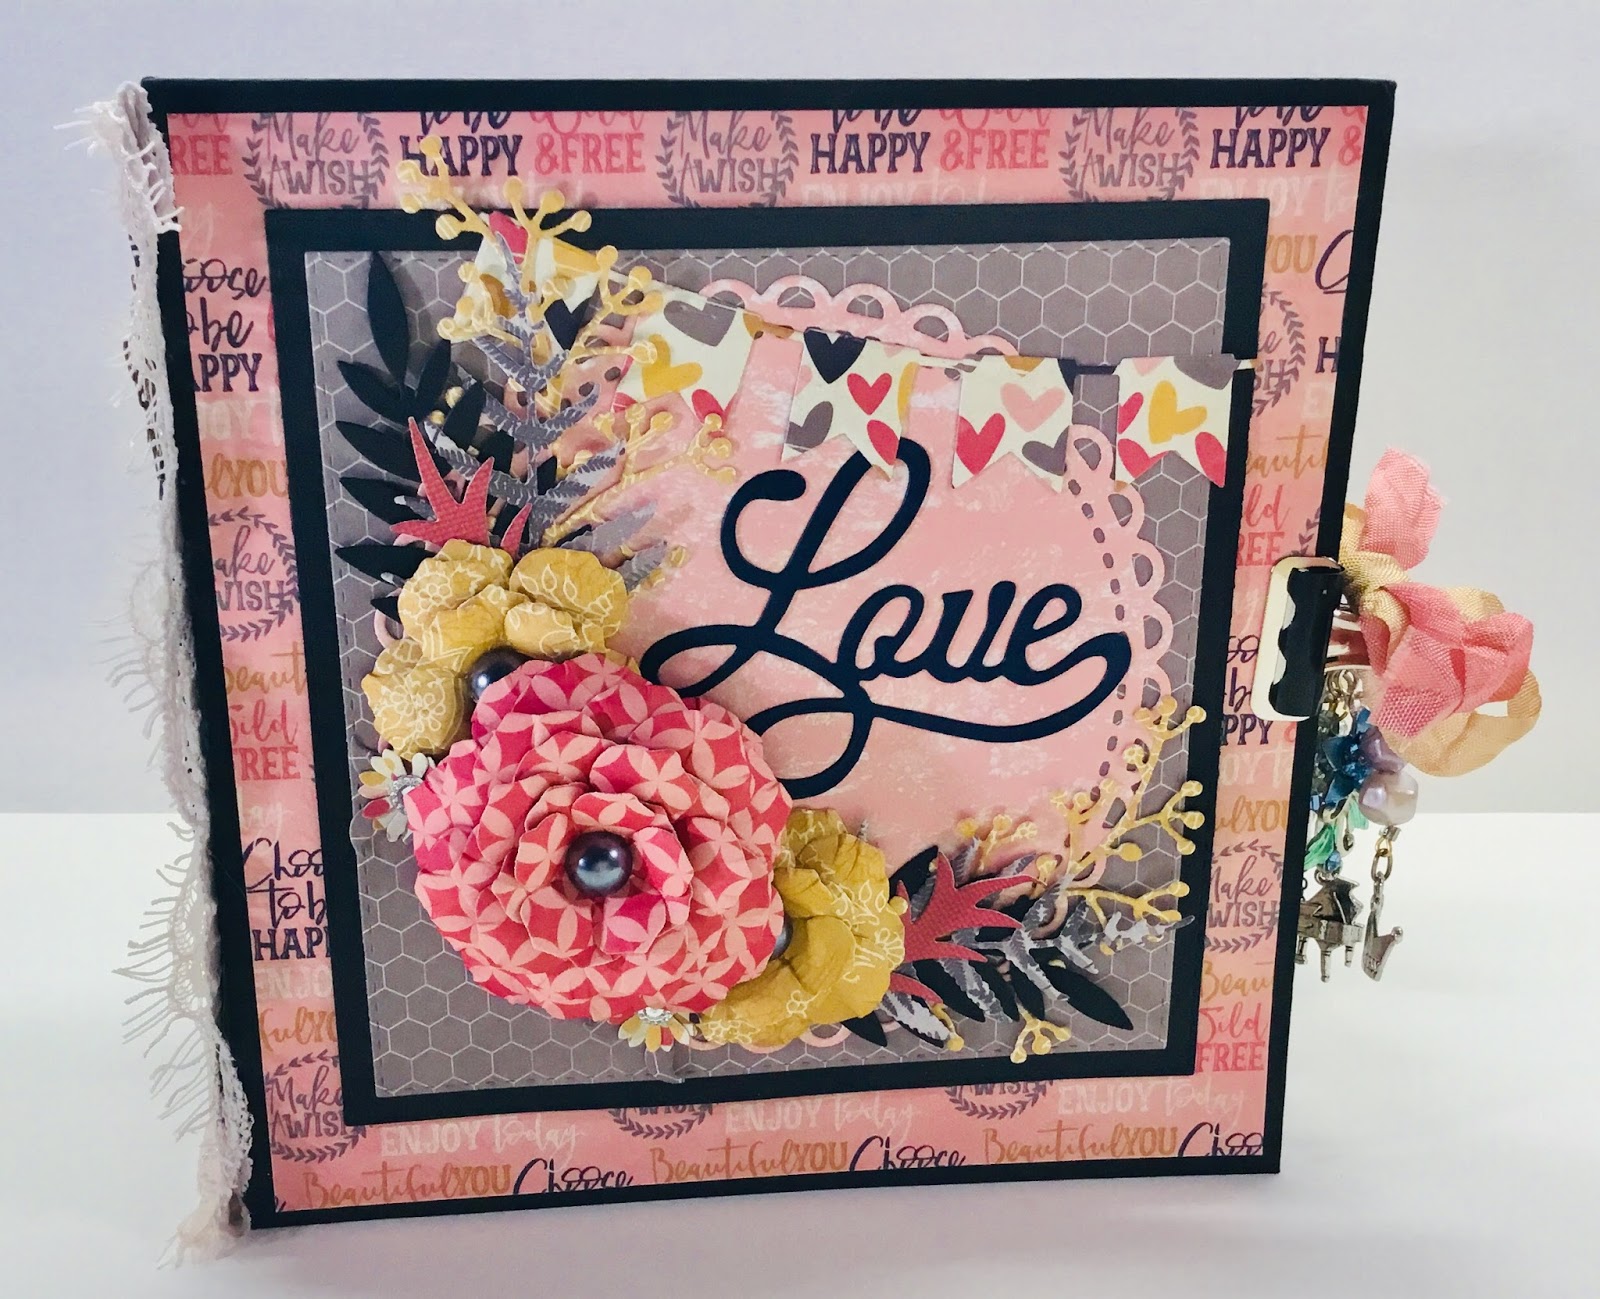
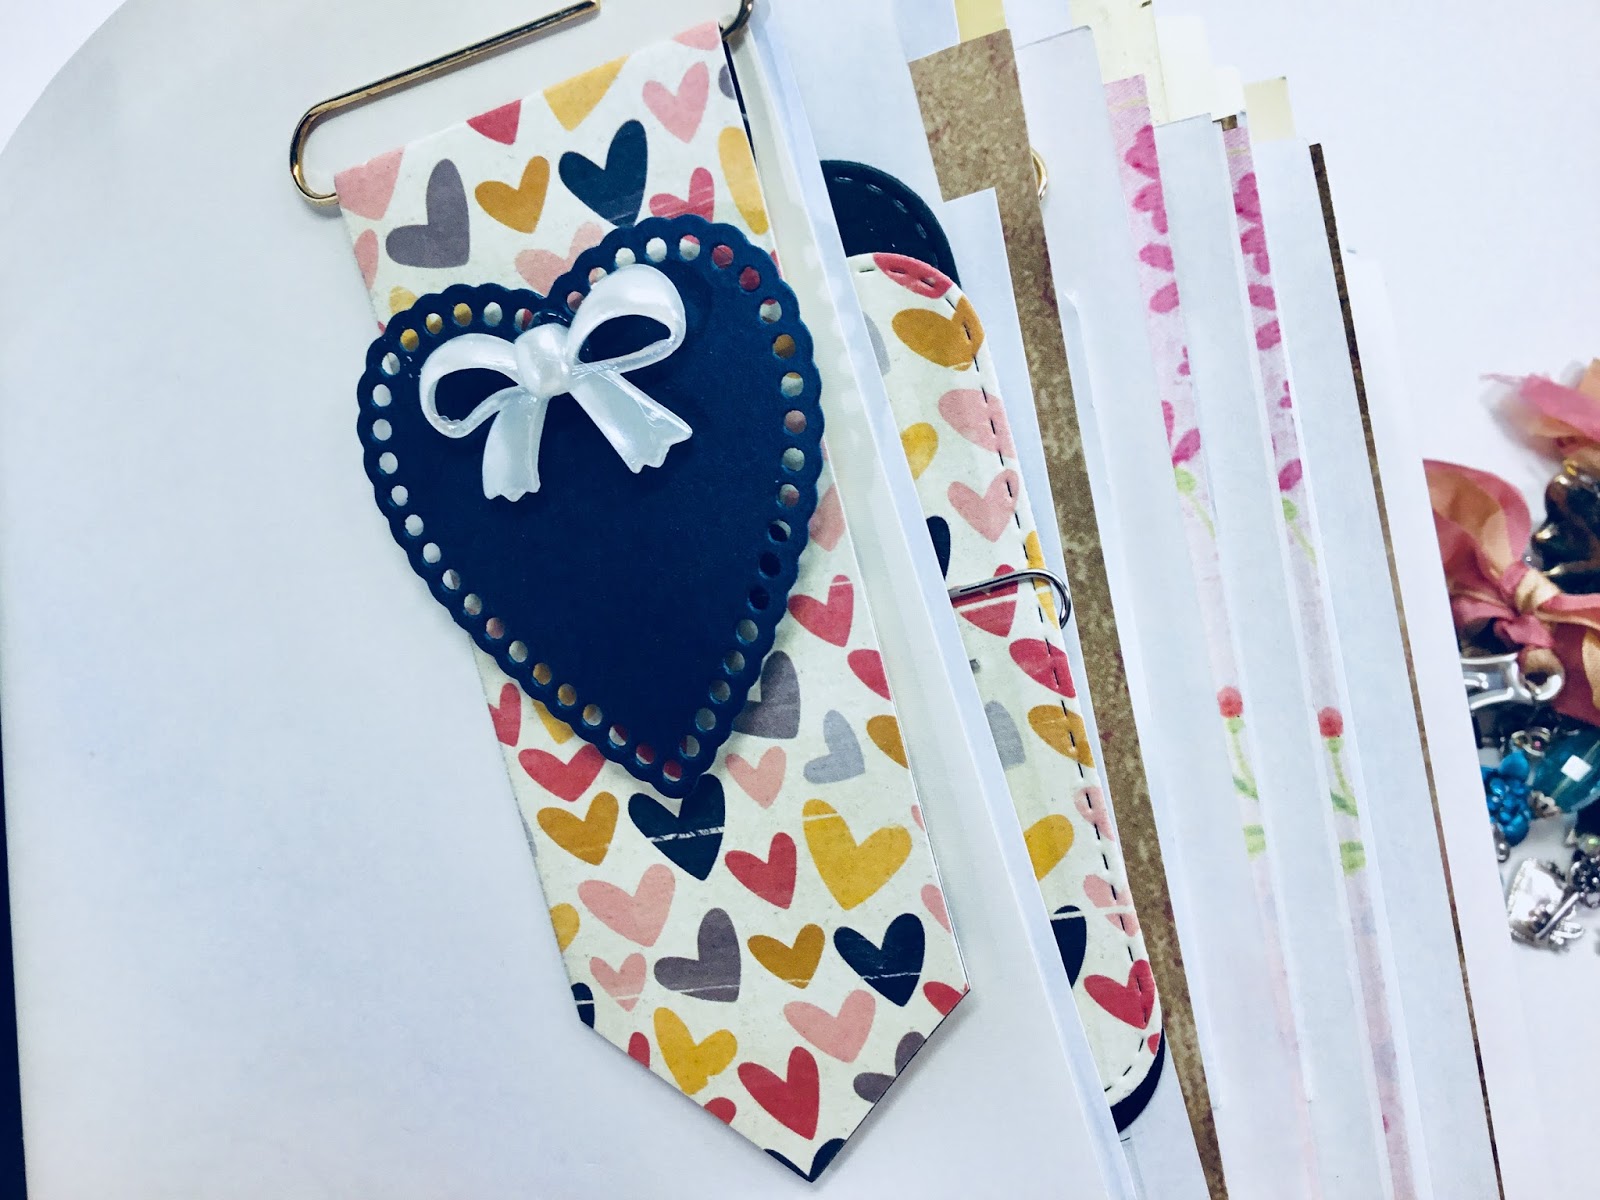
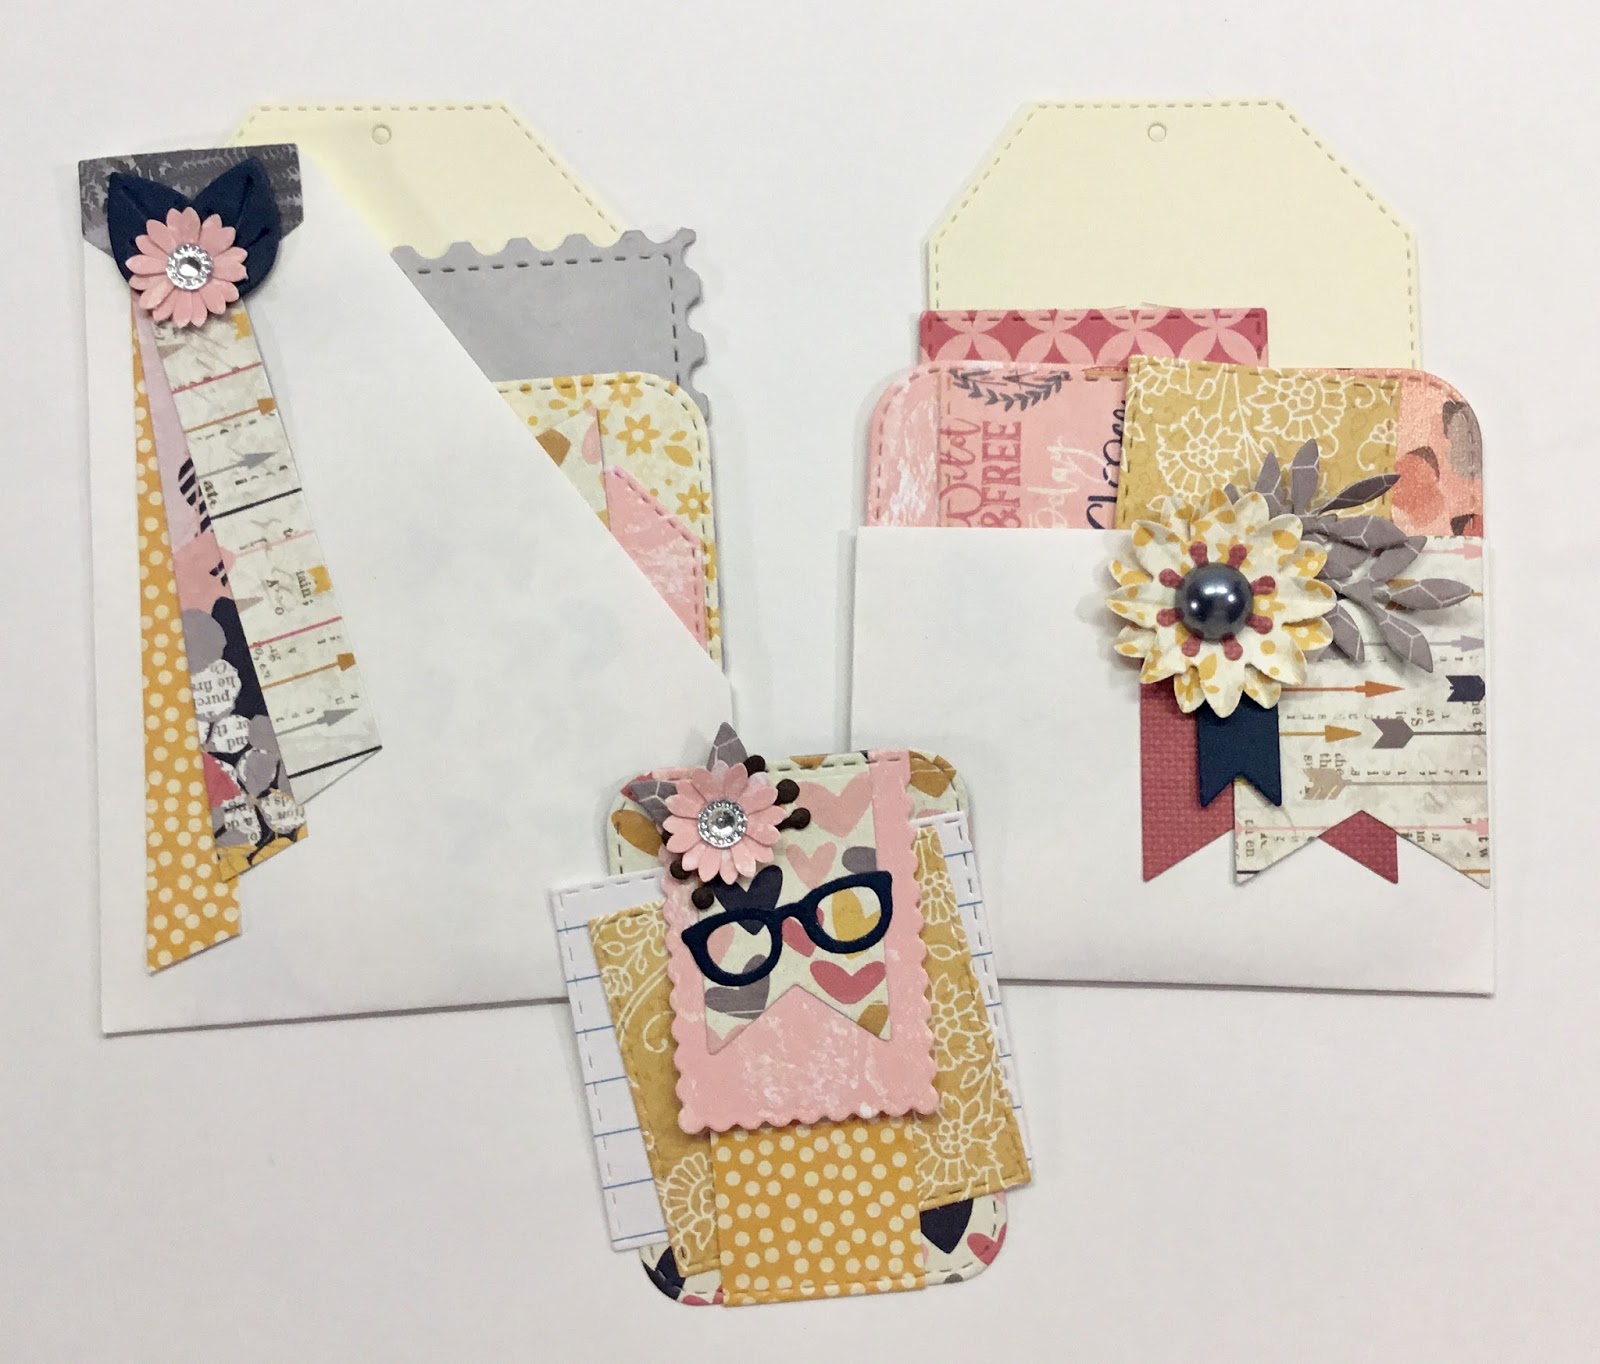
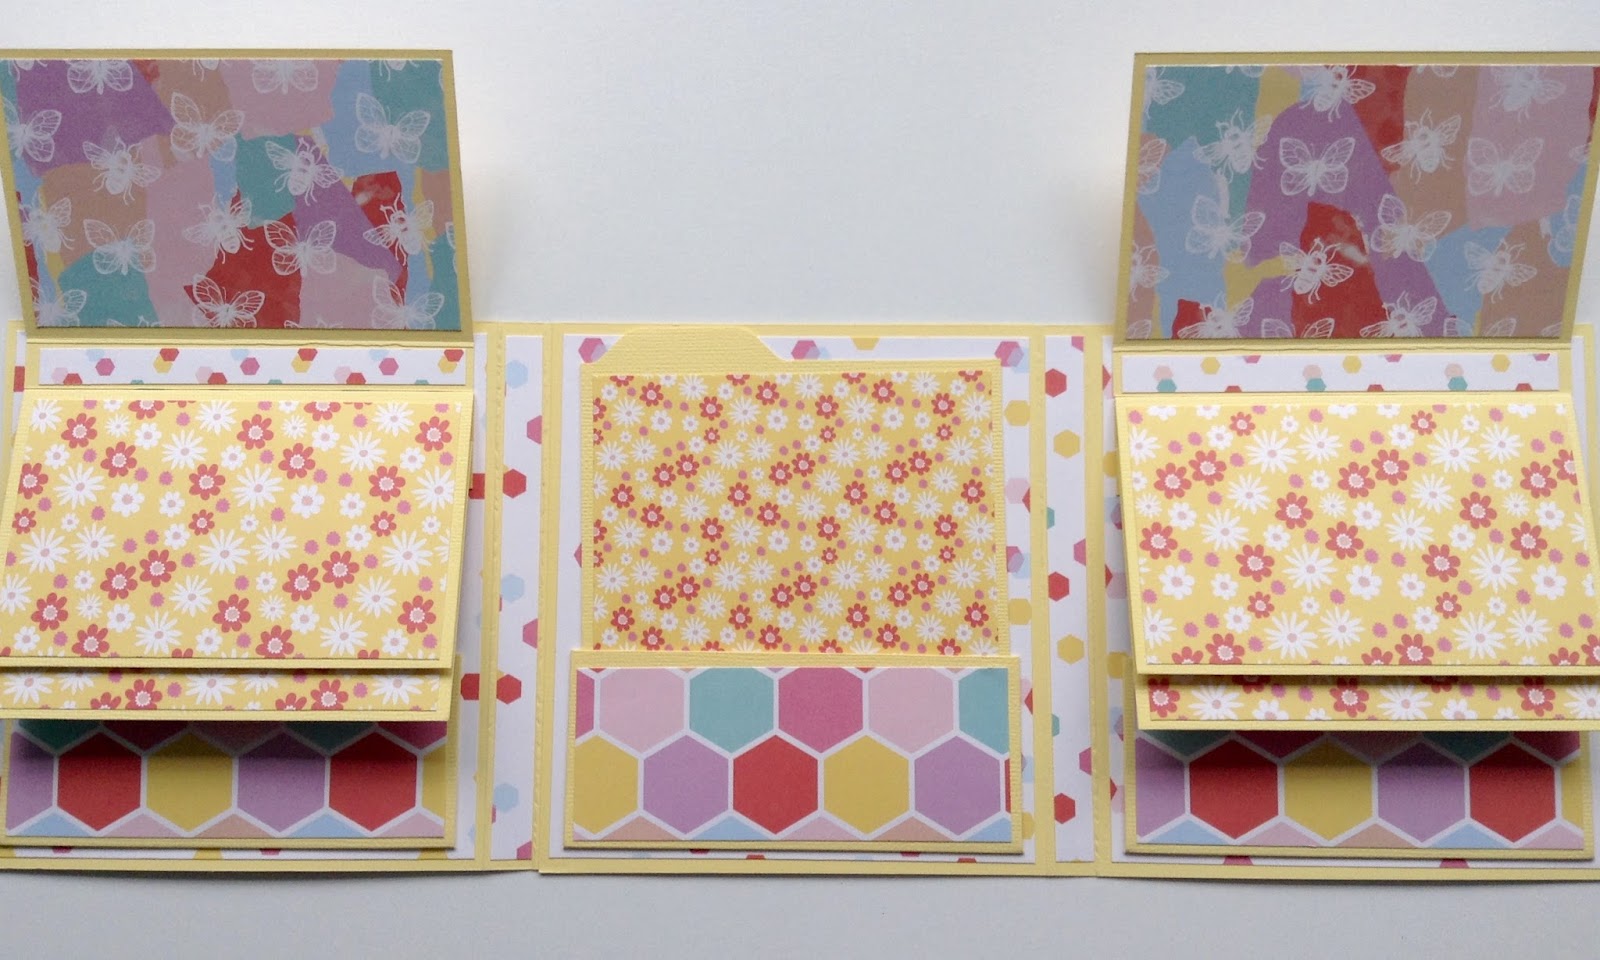
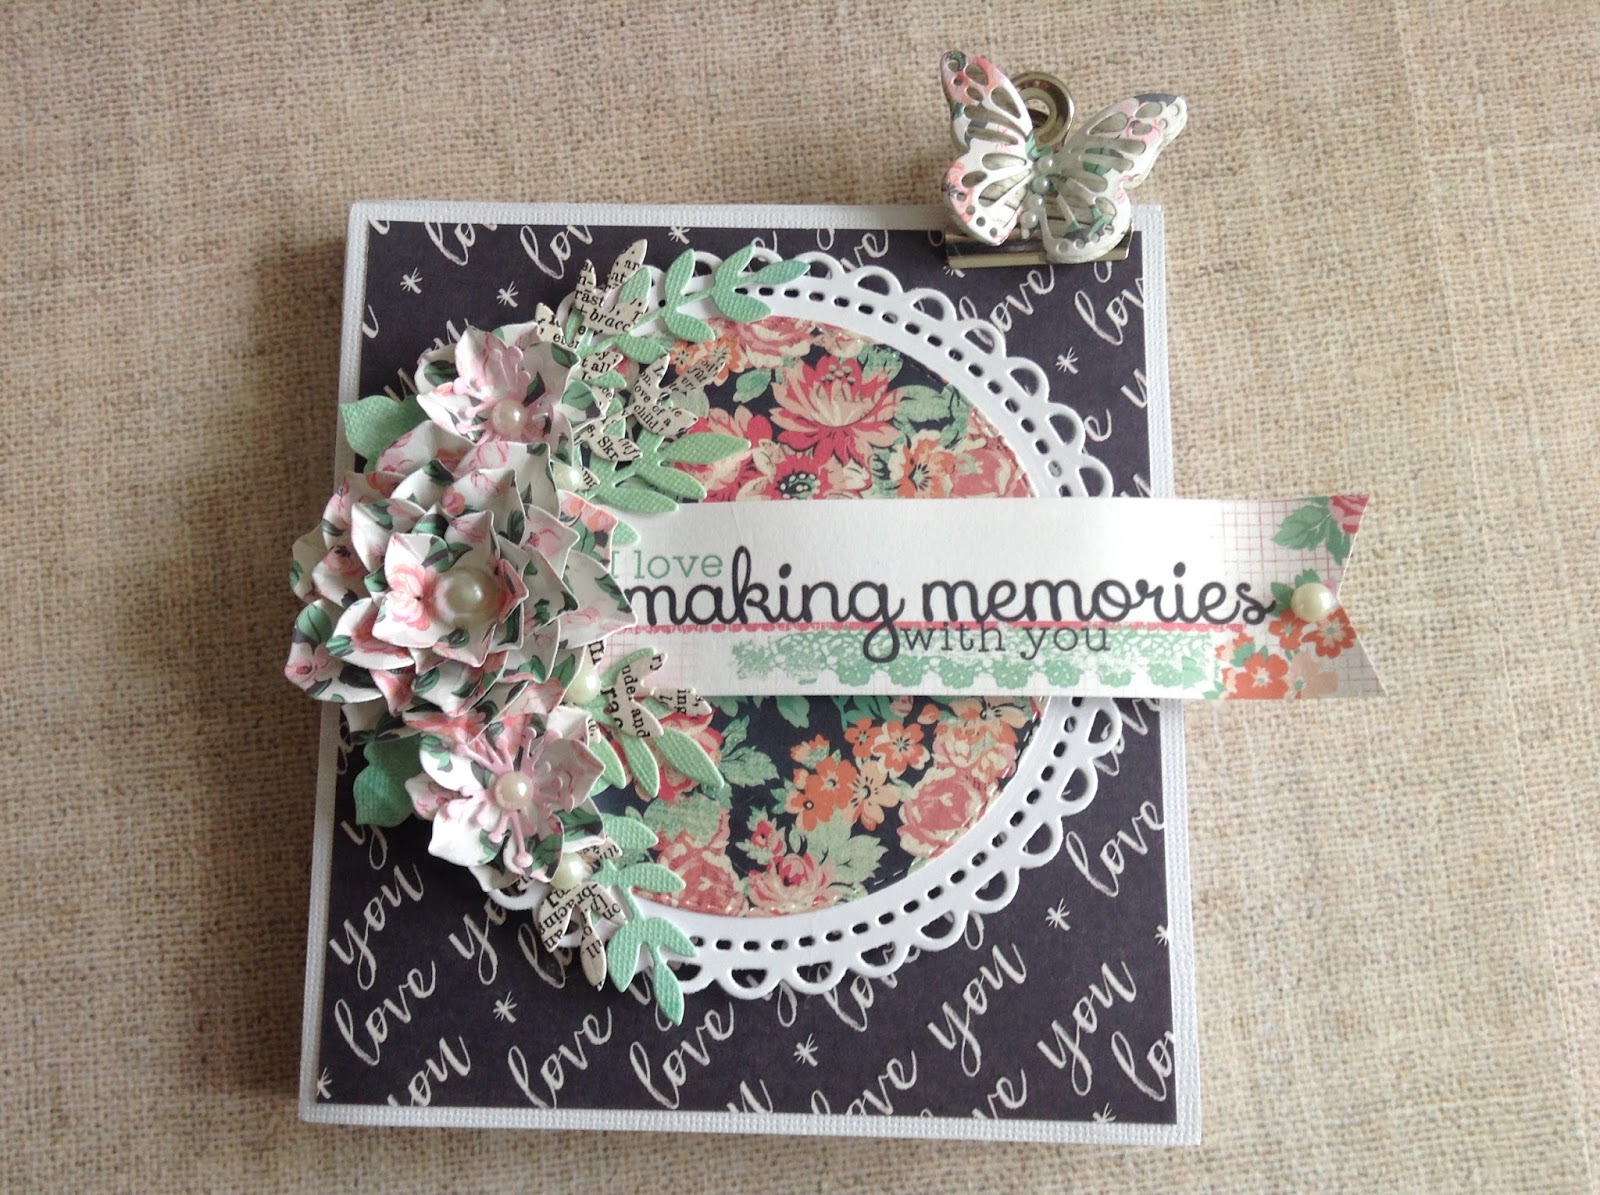
To make the base of this Folio you will need plain cardstock and matching designer paper of your choice.  Dovecrafts  Blooming Lovely Collection and yellow cardstock has been used this time.  The photo above shows it made with white cardstock and the First Edition Sweet Nothings paper pad as it has cut apart sheets that I used for some of the decoration.
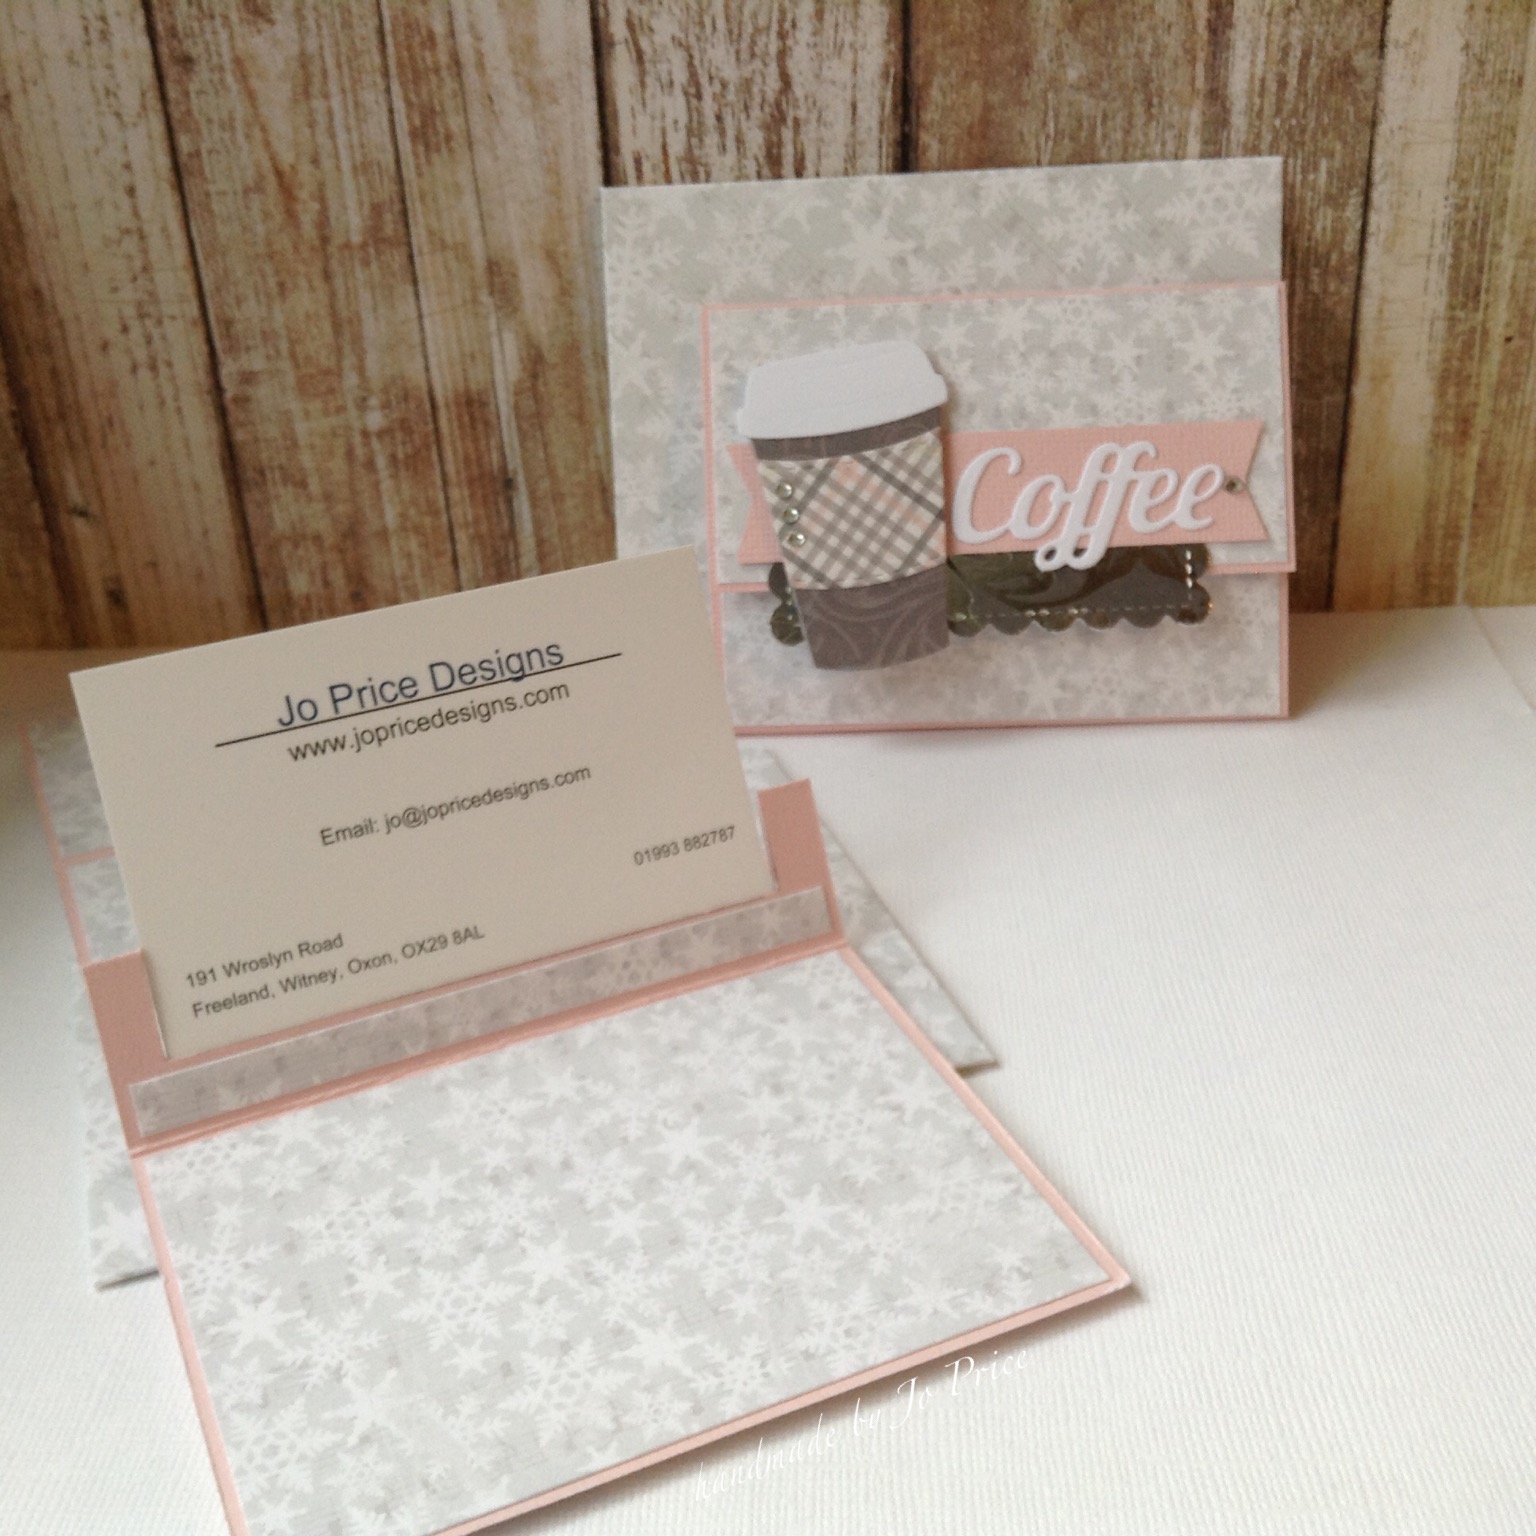
The Cover


Cut two pieces measuring 5 3/4" x 11" and score on the long side at 5 1/4" and 5 3/4" to create the spines.  Turn both pieces with the inside facing you and  stick the front of one to the back of the other to make a tri-fold.

The mats for these measure 5" x 5 1/2".  You will need six, three for the front and 3 for the inside.

The Pockets


You will need to cut 3 of these, measuring 5 3/4" x 2 1/2" then scored 1/2" on three sides.  Cut notches on the two corners so you can fold the sides in neatly. 
The mats for these are 4 1/2" x 1 3/4".
Tape on 3 sides and stick inside on the two flaps and the middle piece leaving an even gap around three sides.
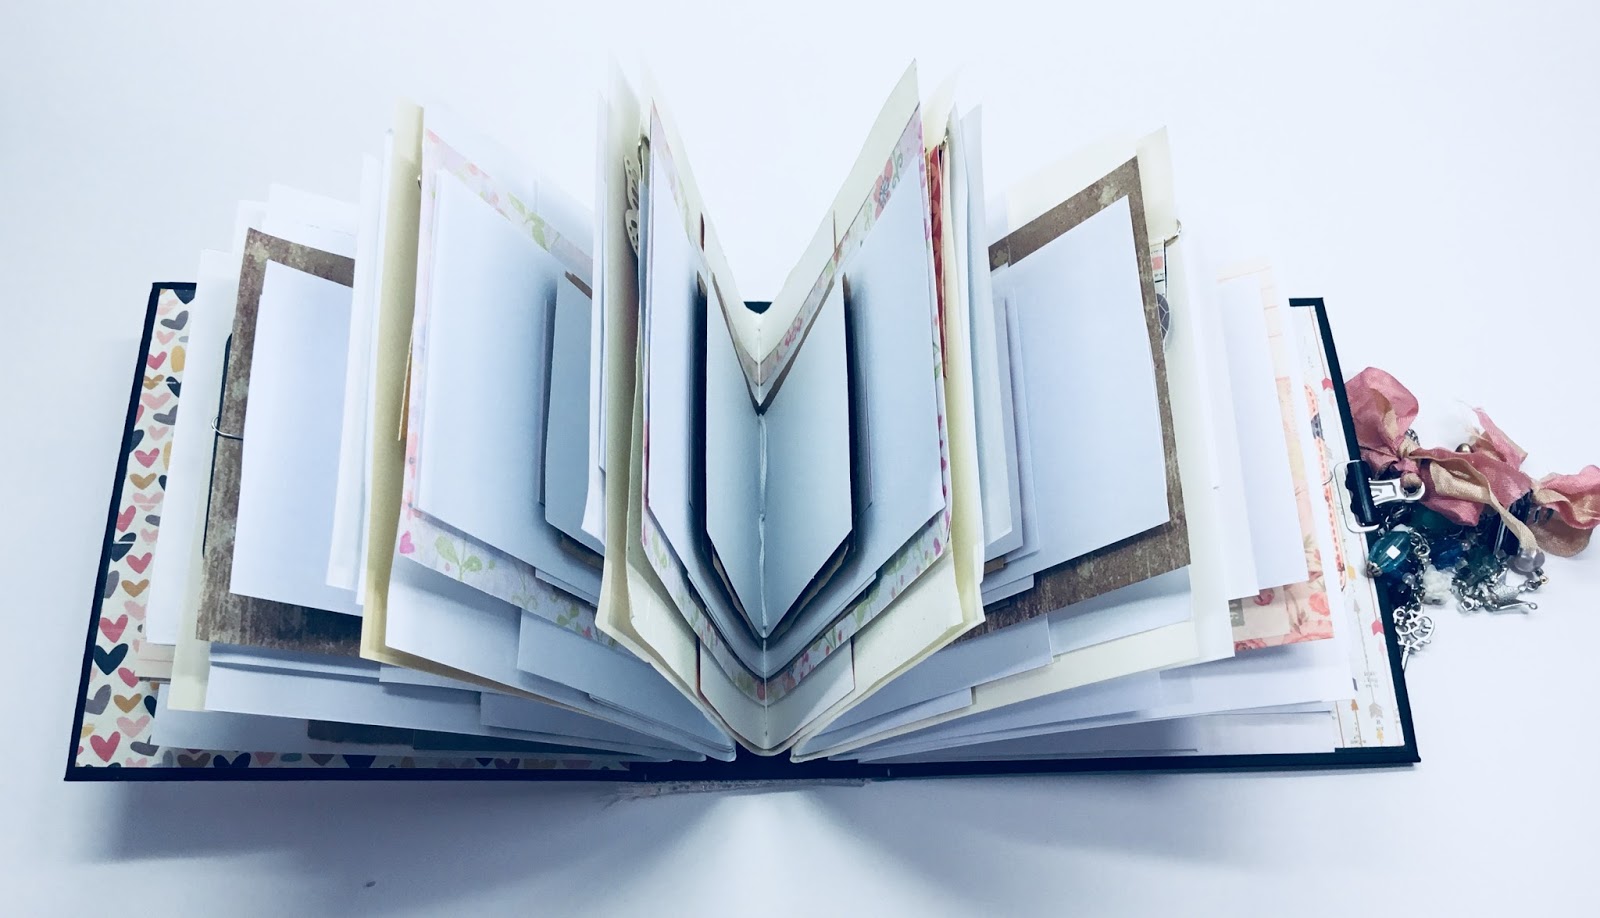
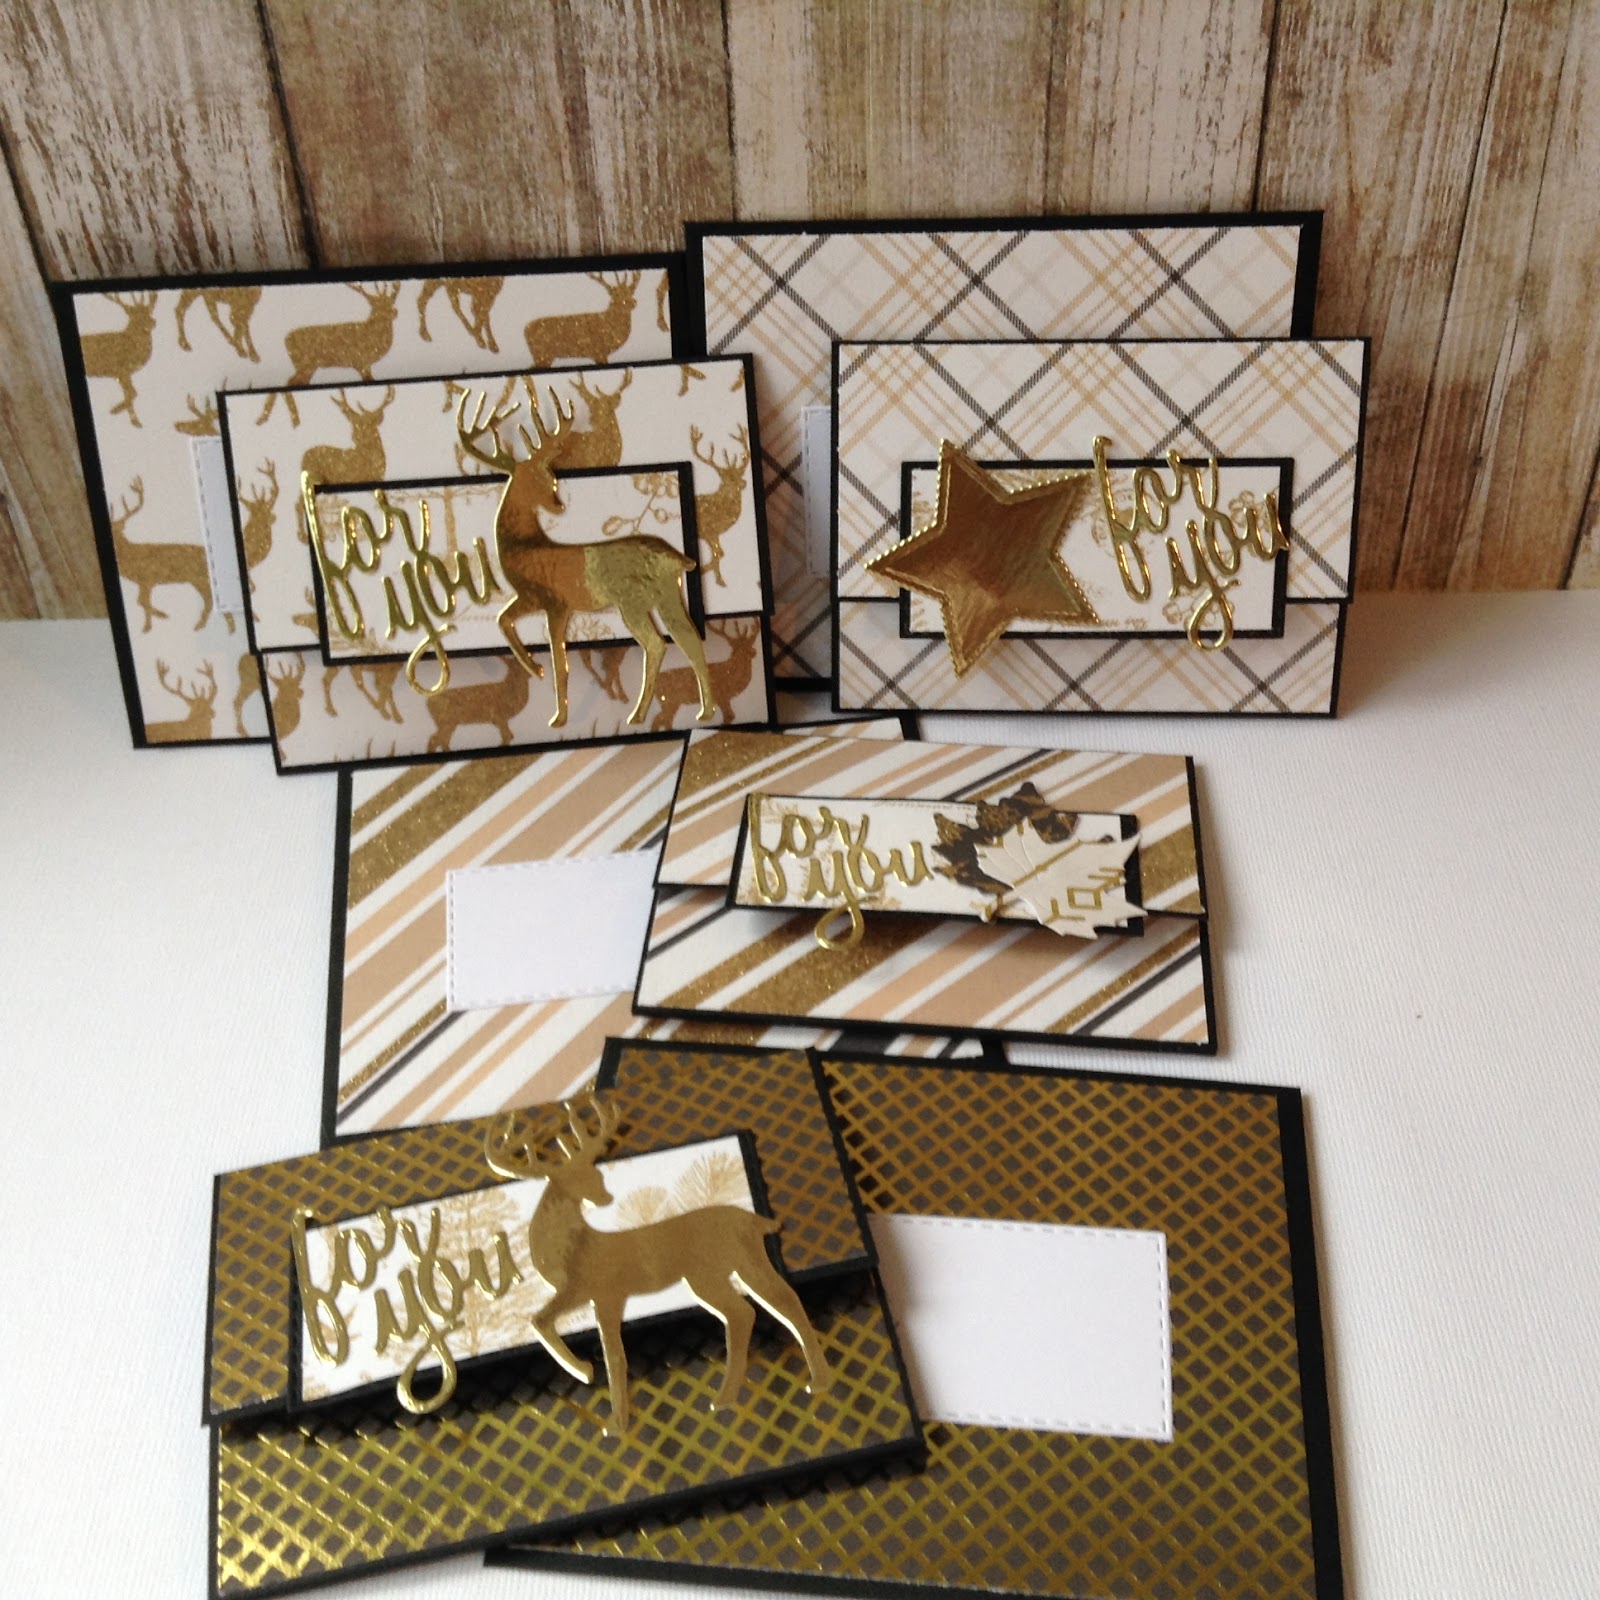
The Flip Flaps


You will need to cut six of these measuring 4 3/4" x 3 1/2" and score 1/2" on one long side.  Using tape or glue fold and adhere one piece to the top of the inside flap leaving an even gap around 3 sides as with the pocket placement.


For the next flap, fold the score line and butt it up to the bottom of the flap, the next flap will then go under the previous flap.  Repeat for the opposite side.


The mats for the flaps are 4 1/2"x2 3/4" and you will need twelve.
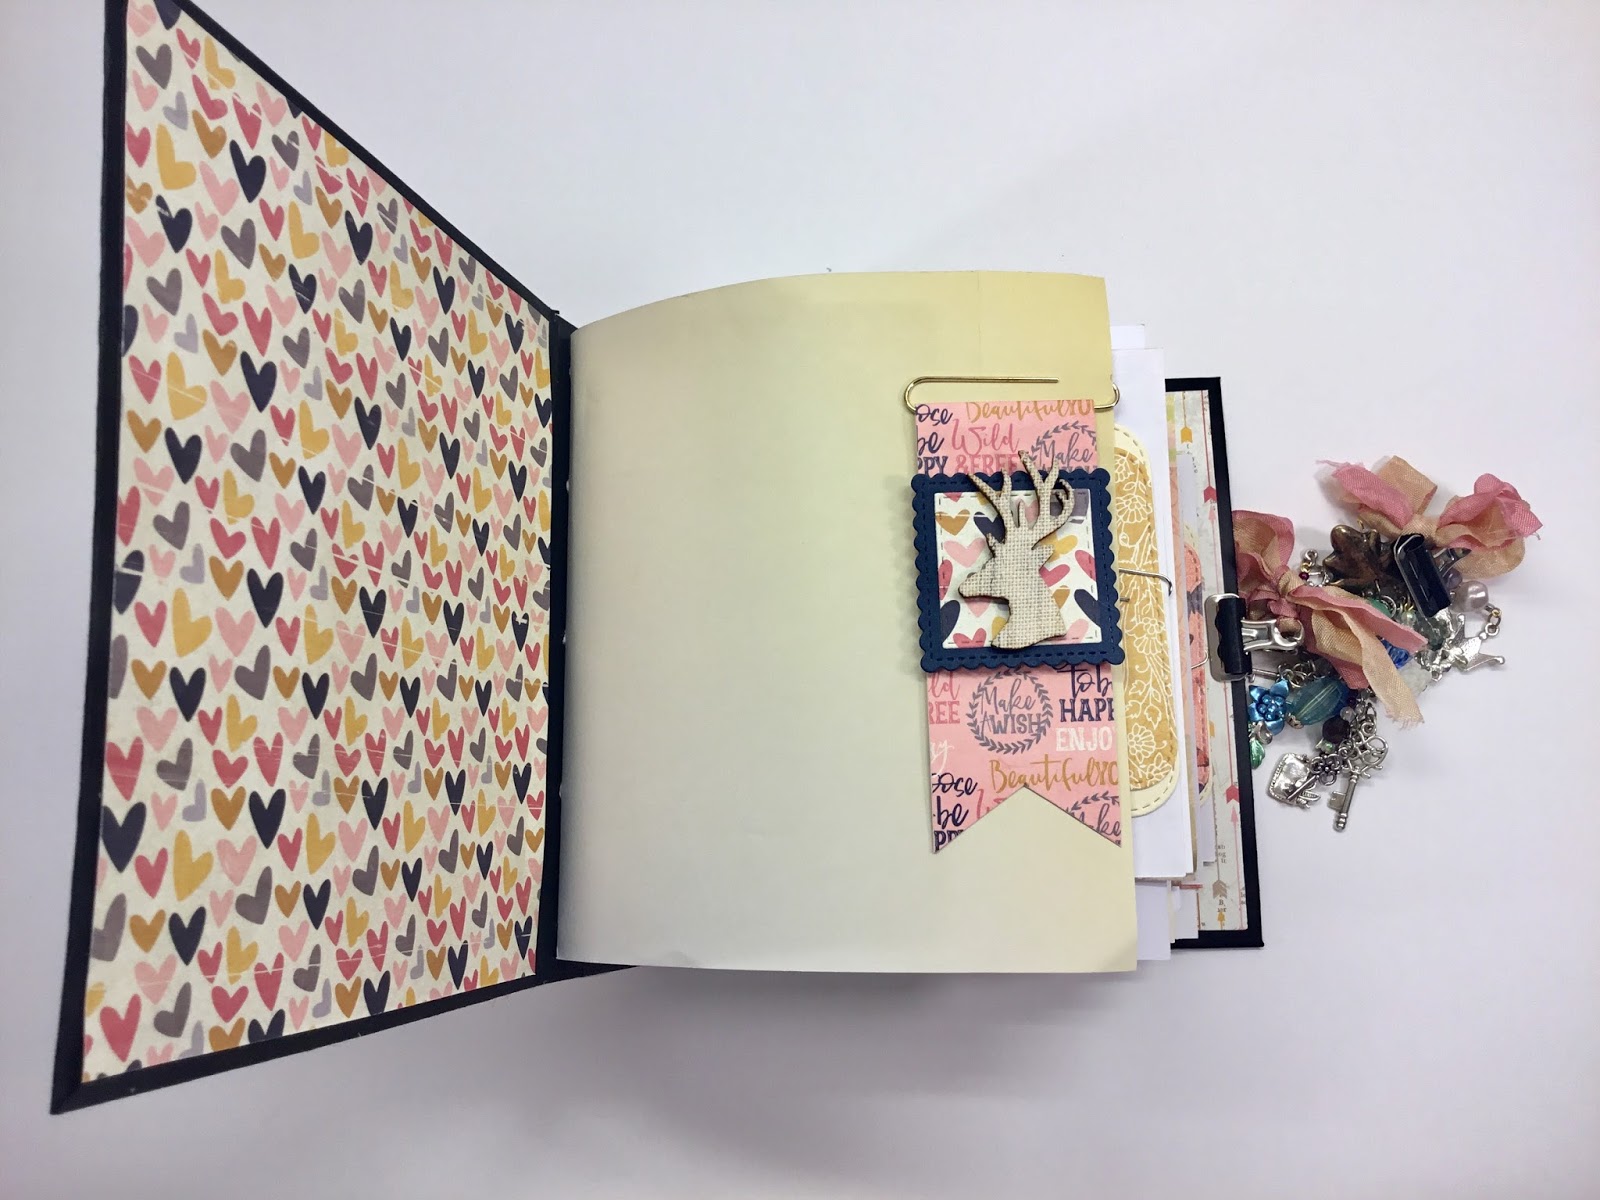
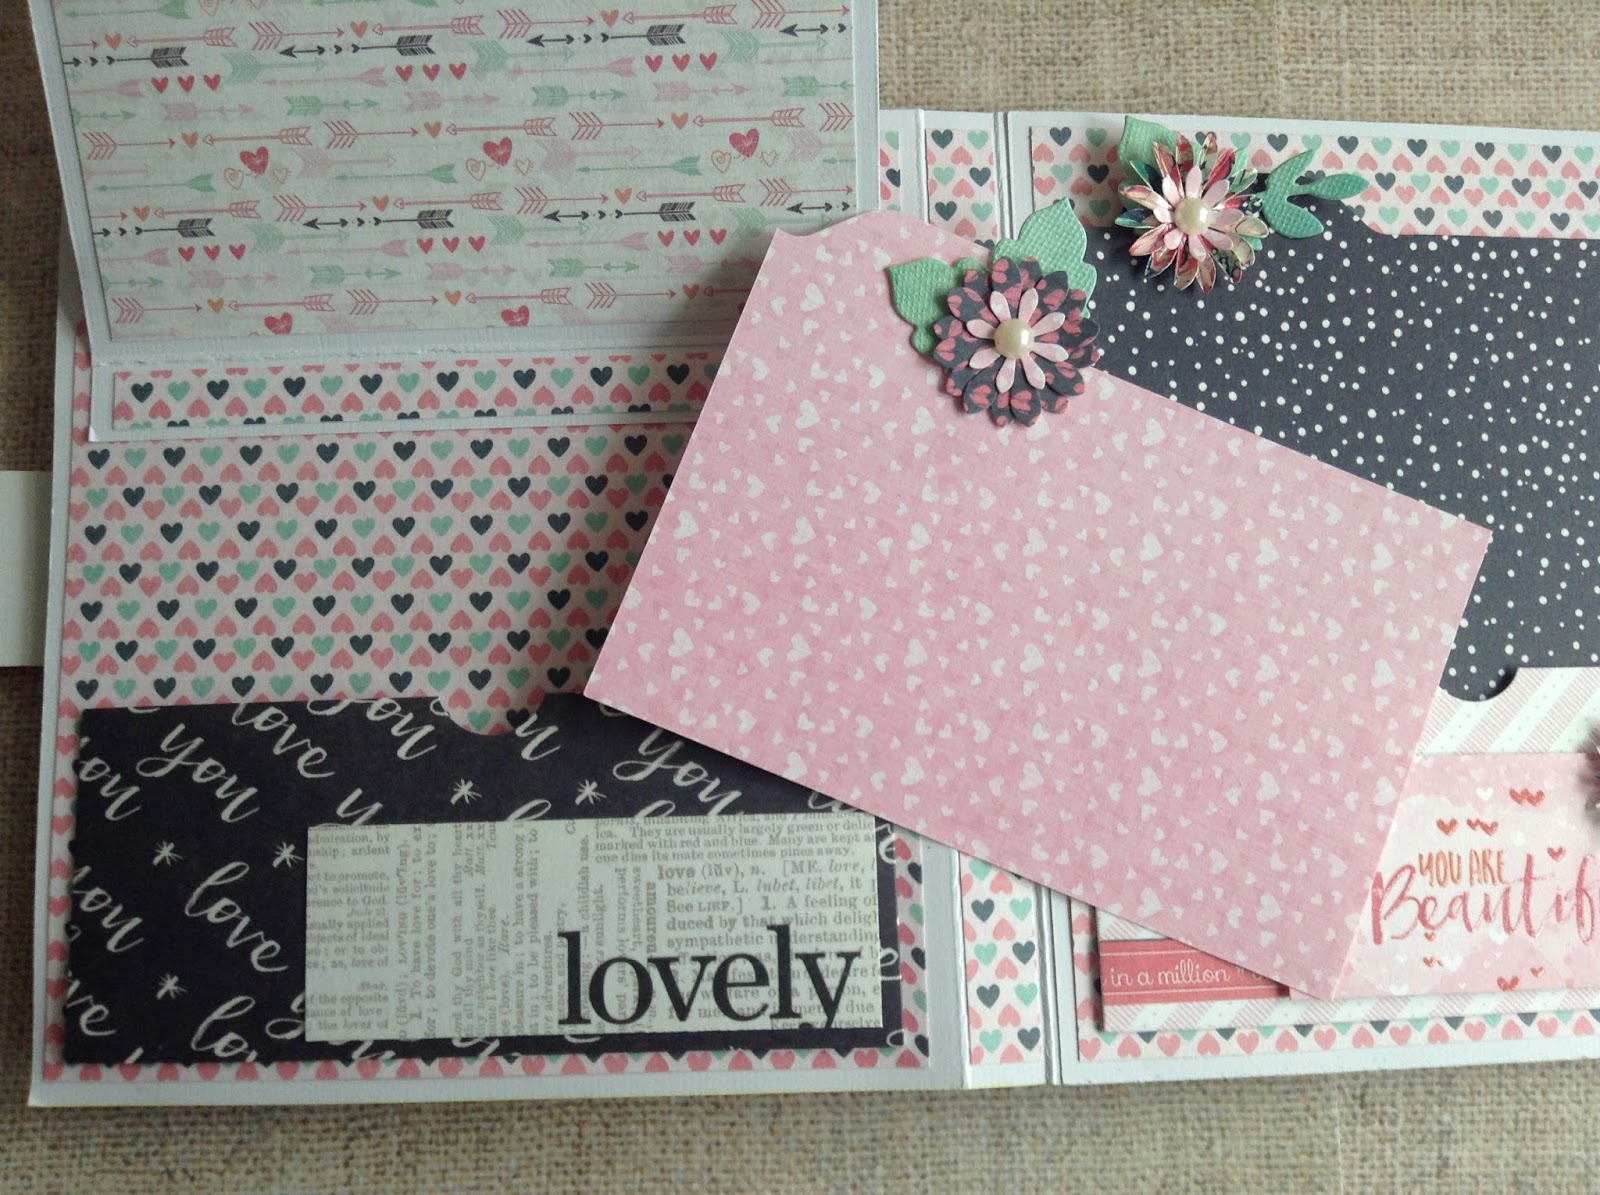
Pocket Inserts


Cut one piece that measures 4 1/2" x 5" and two pieces measuring 4 1/2" x 3 1/4"

To make the tabs use your envelope punch board place the edge of the largest insert so the edge of the card shows through the gap and butts up against the blue piece of plastic and punch, move the board along so the outside edge of the card is lined up with the 2 1/4" mark and punch again, cut away the excess this has now completed this insert.


For the other two inserts do the same except when lining the outside edge for your second punch you need to line it up to the 2" mark.  To make sure the the tab is on the opposite side on the second insert, just turn it over and repeat the instructions for the last insert.
The mat for the large card measures 4 1/4" x 4 3/8" the two at 4 1/4" x 2 5/8"


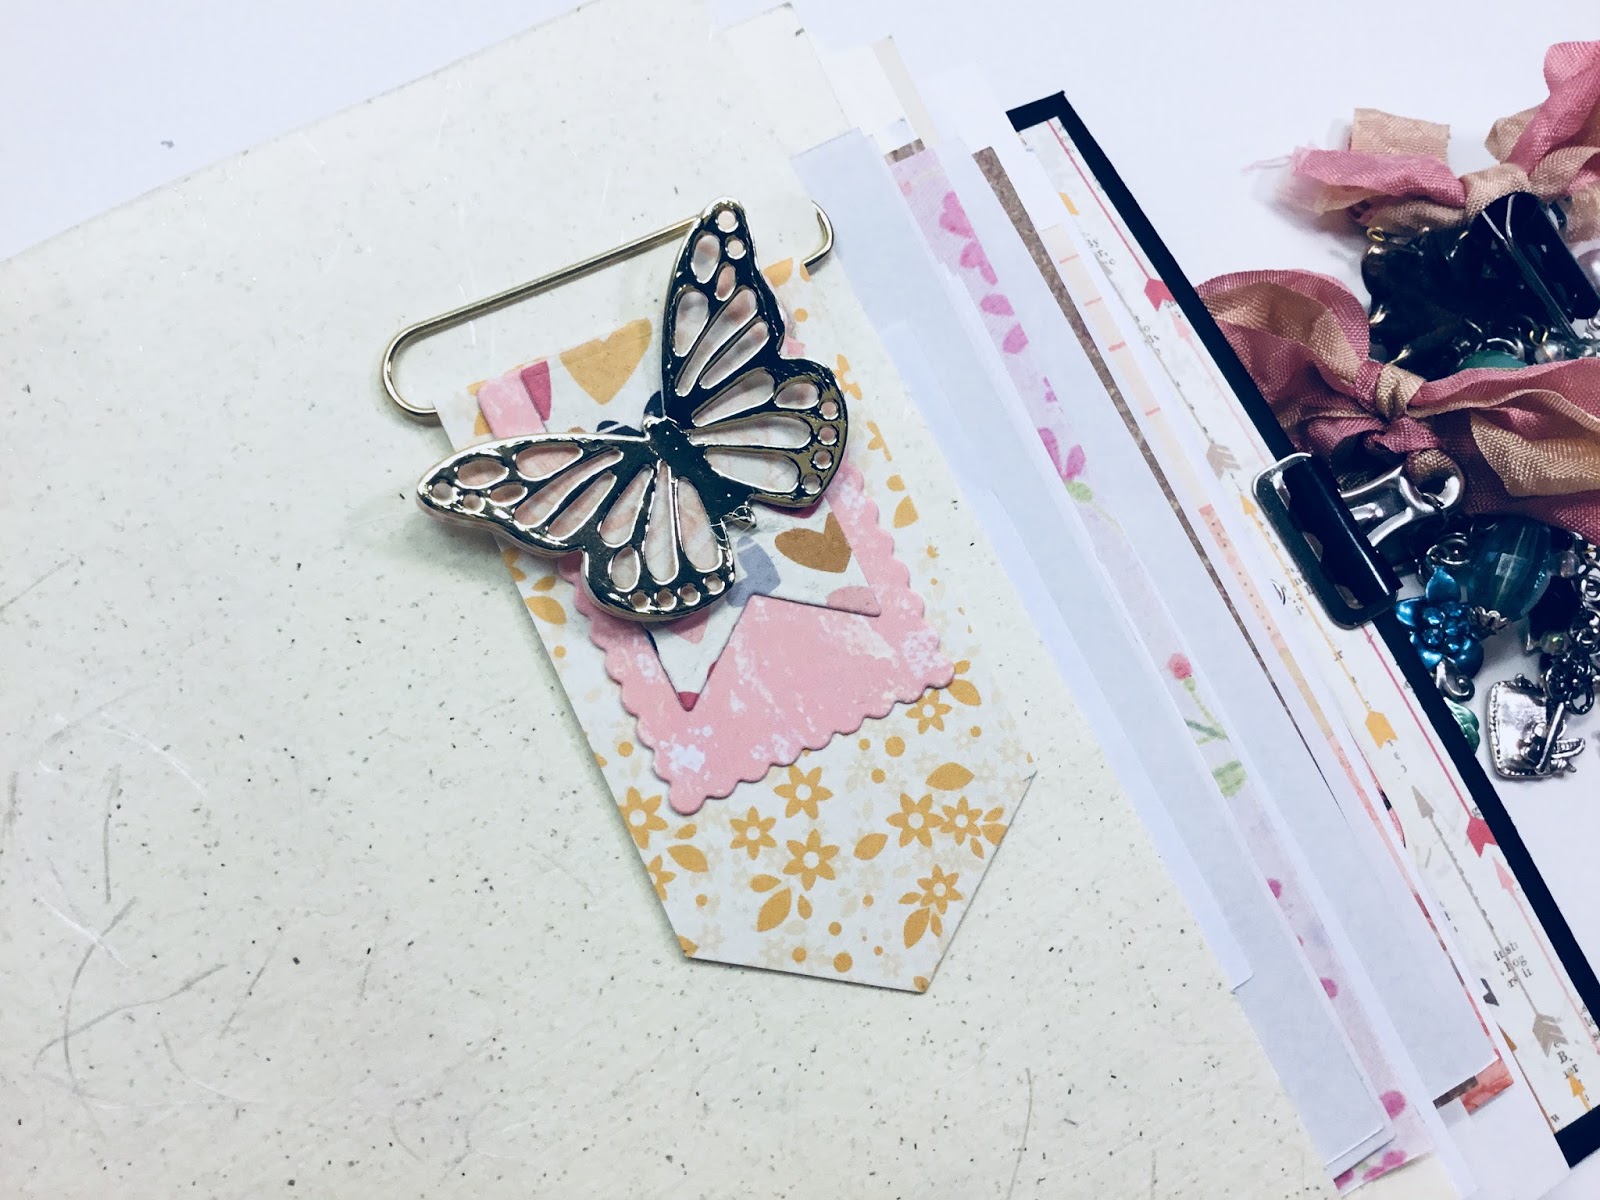
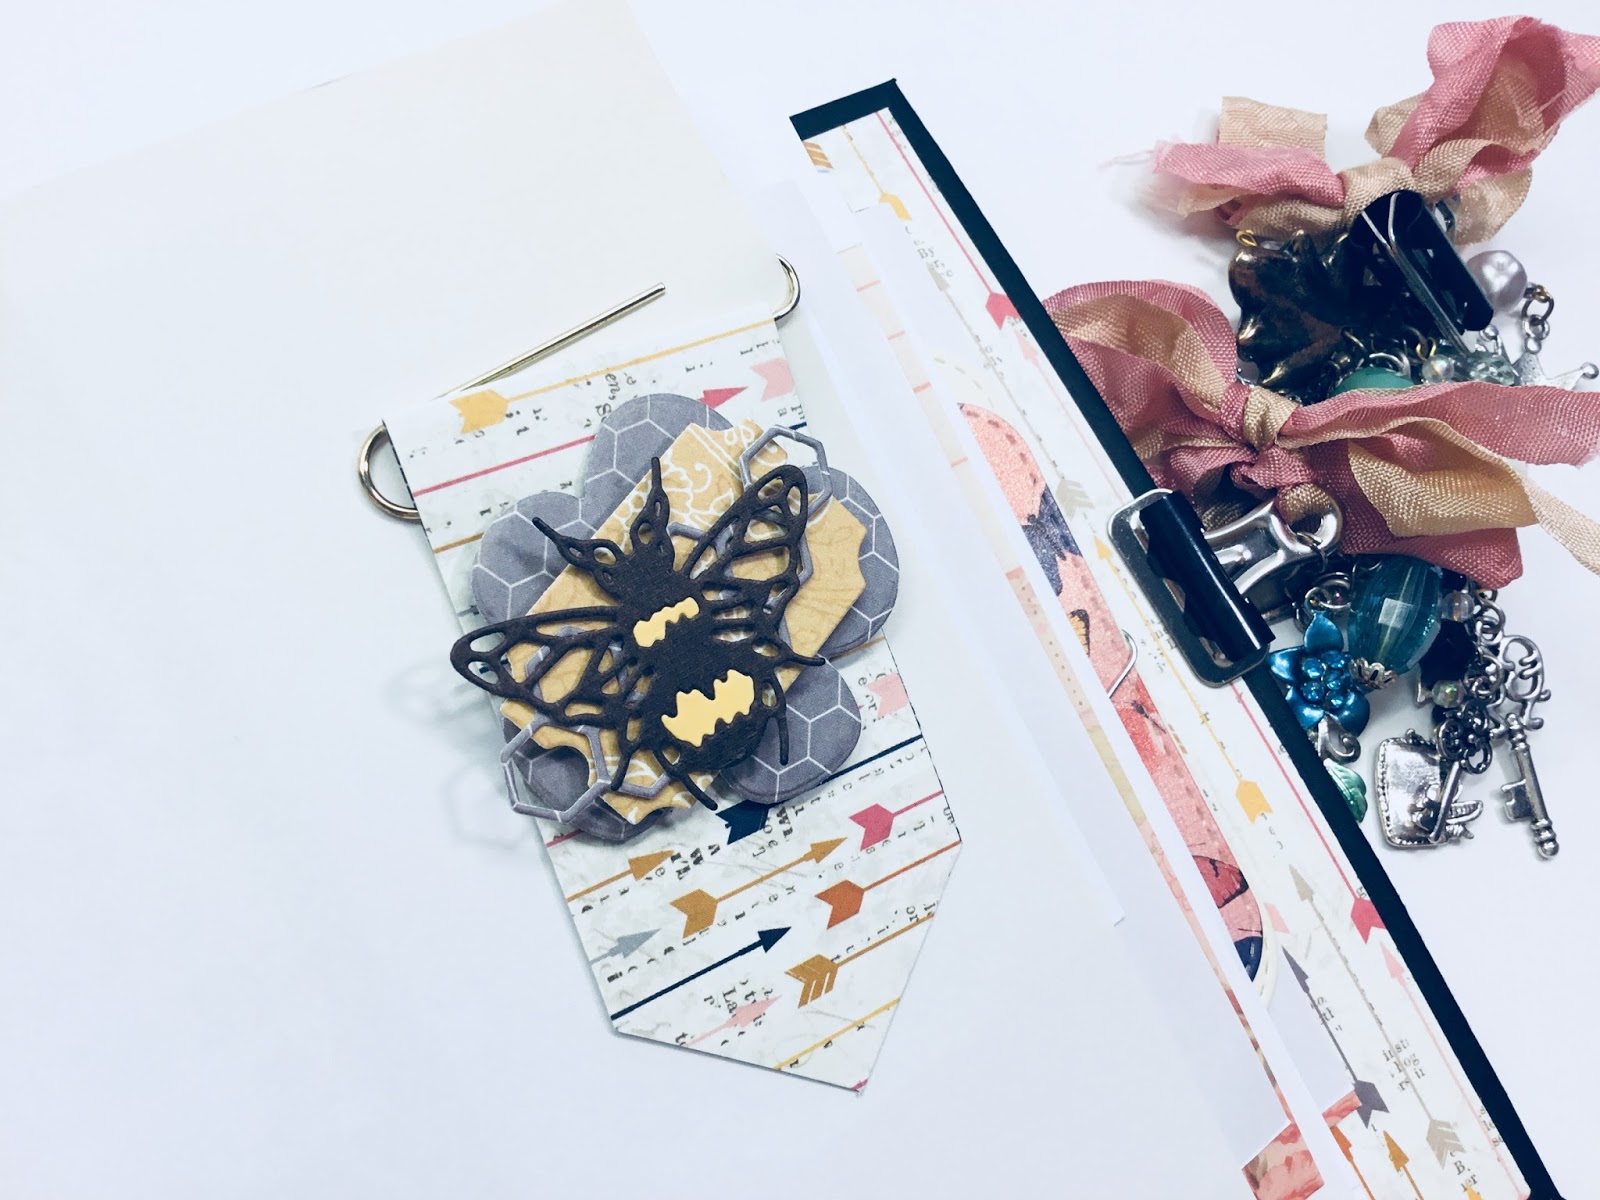
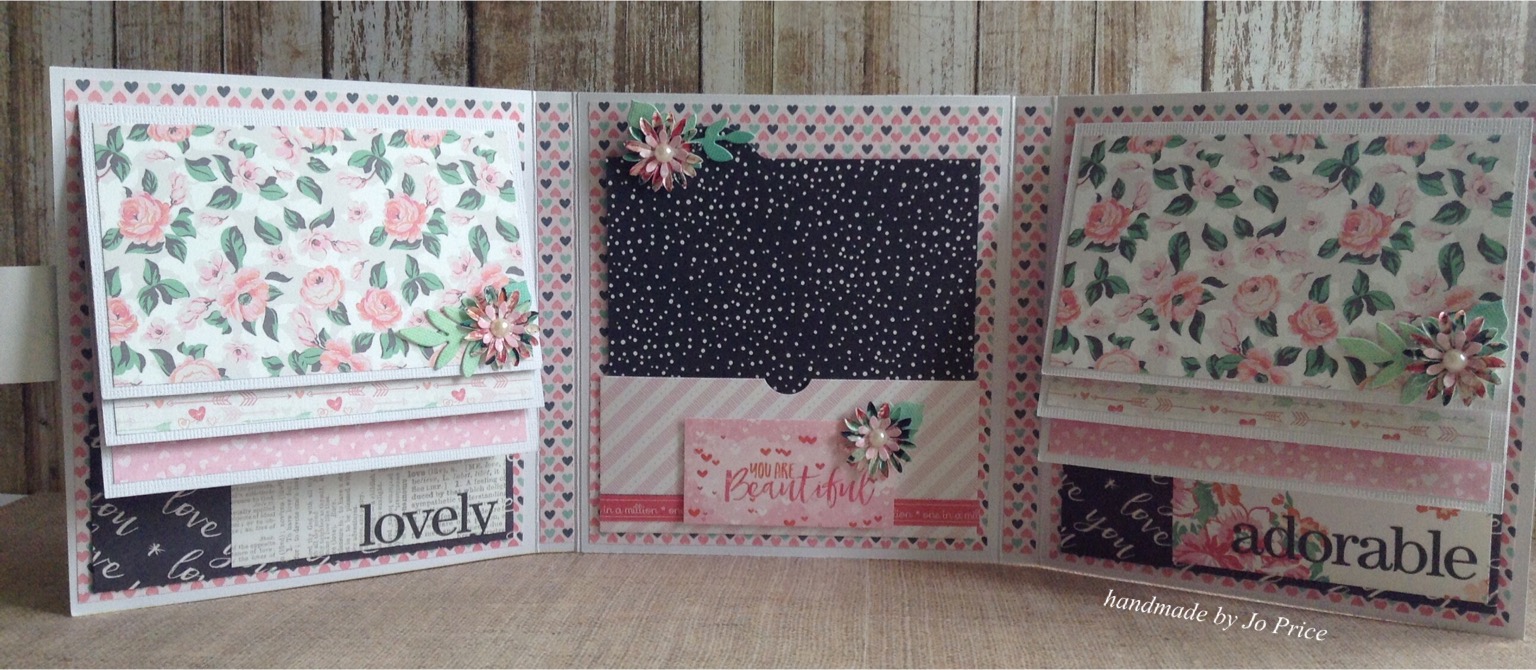
I have cut matching strips of paper for the spines and the under sides of the flaps to blend in with the papers used on the backgrounds.

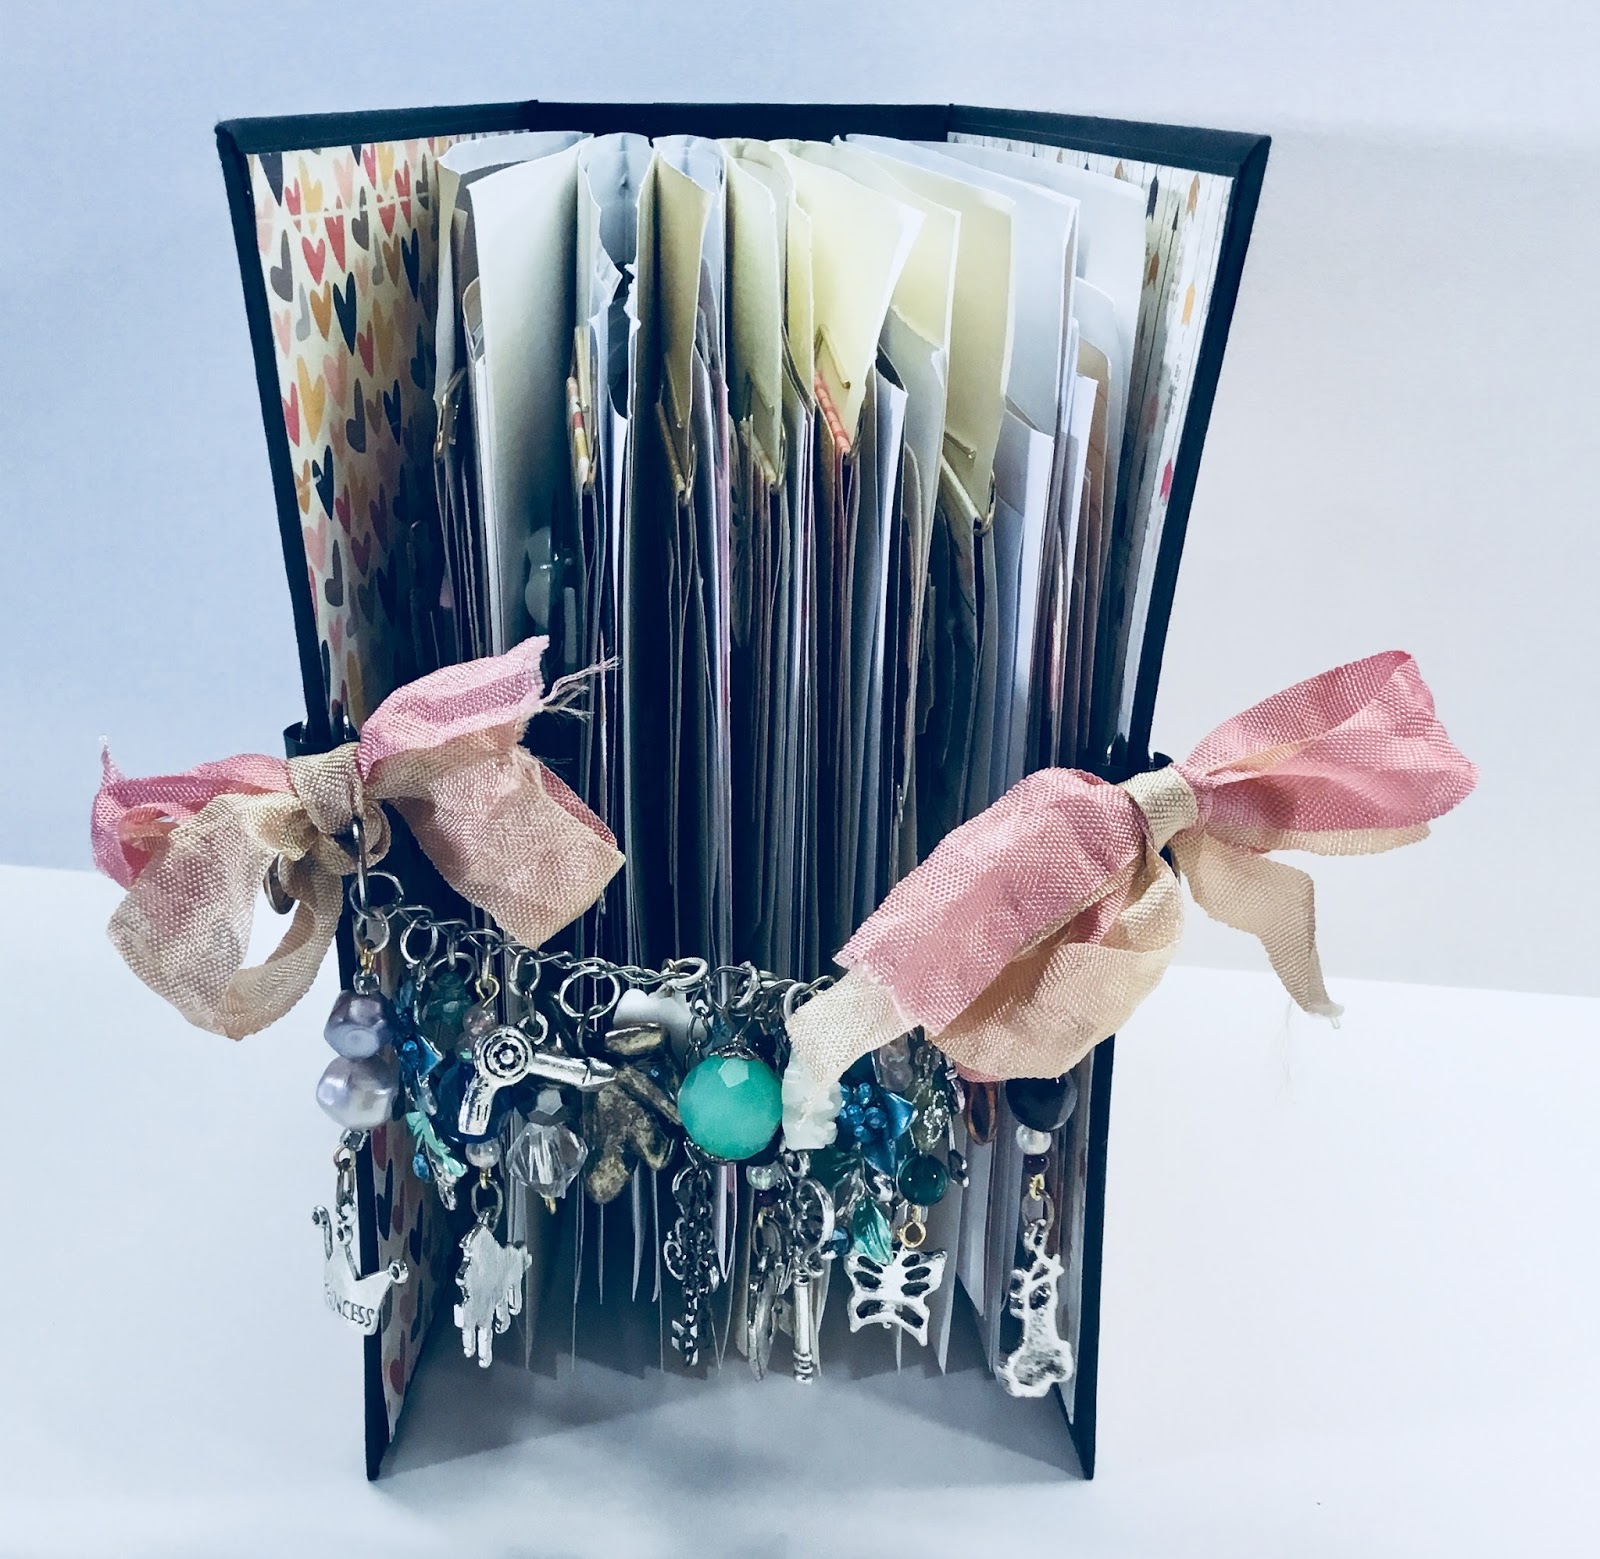
All that's left to do is decorate and put fill with all your lovely memories.  There are lots of places for photos and journaling, perhaps it could be used for a weekend away or a particular special event.

I hope you enjoy making these yourself.  I would love to know how you get on.  If you have photos of  your creations, please upload them to my Facebook group  Jo's Crafty Pad.

Have lots of fun and happy crafting

Jo xxx


Thursday 29 June 2017

Photo Flip Folio


For this photo folio flip I have used the stunning papers in the First Edition Sweet Nothings 8x8 pad

The front cover has been decorated using the cut apart sheet in the pad, handmade flowers and die cut double butterfly on a clip to close the flip.


This is a tri-fold design with six double sided flips for photos and journaling, also three pockets to hold tab top mats for more photos, tickets and other memorabilia.


This project is ideal to capture the memories of a special day or trip and is easily made to capture special memories quickly and less daunting than a 12 x 12 page or a large album.


If you are interested in re-creating this project, I have a kit available on my website (Jo Price Designs) with everything you will need minus adhesives and plain cardstock for the base. The kit also has lots of extra handmade embellishments for other projects or to add to your folio.


Happy crafting
Jo xx